Configuring a blog
To add and configure a blog for your site / domain, find the Blog icon on the site dashboard:
![]()
Click on the Blog icon, and enter the credentials for the blog’s admin user. These would be the credentials you will use to log into the blog. Once the admin credentials are created, the platform will redirect you to the blog (which would be the “/blog” subfolder of the site’s domain, e.g., www.domain.com/blog). Scroll down to the bottom and click on the Login link. Note: the blog login is not integrated with the rest of our platform. To log into the blog, you would need to use the blog’s login link.
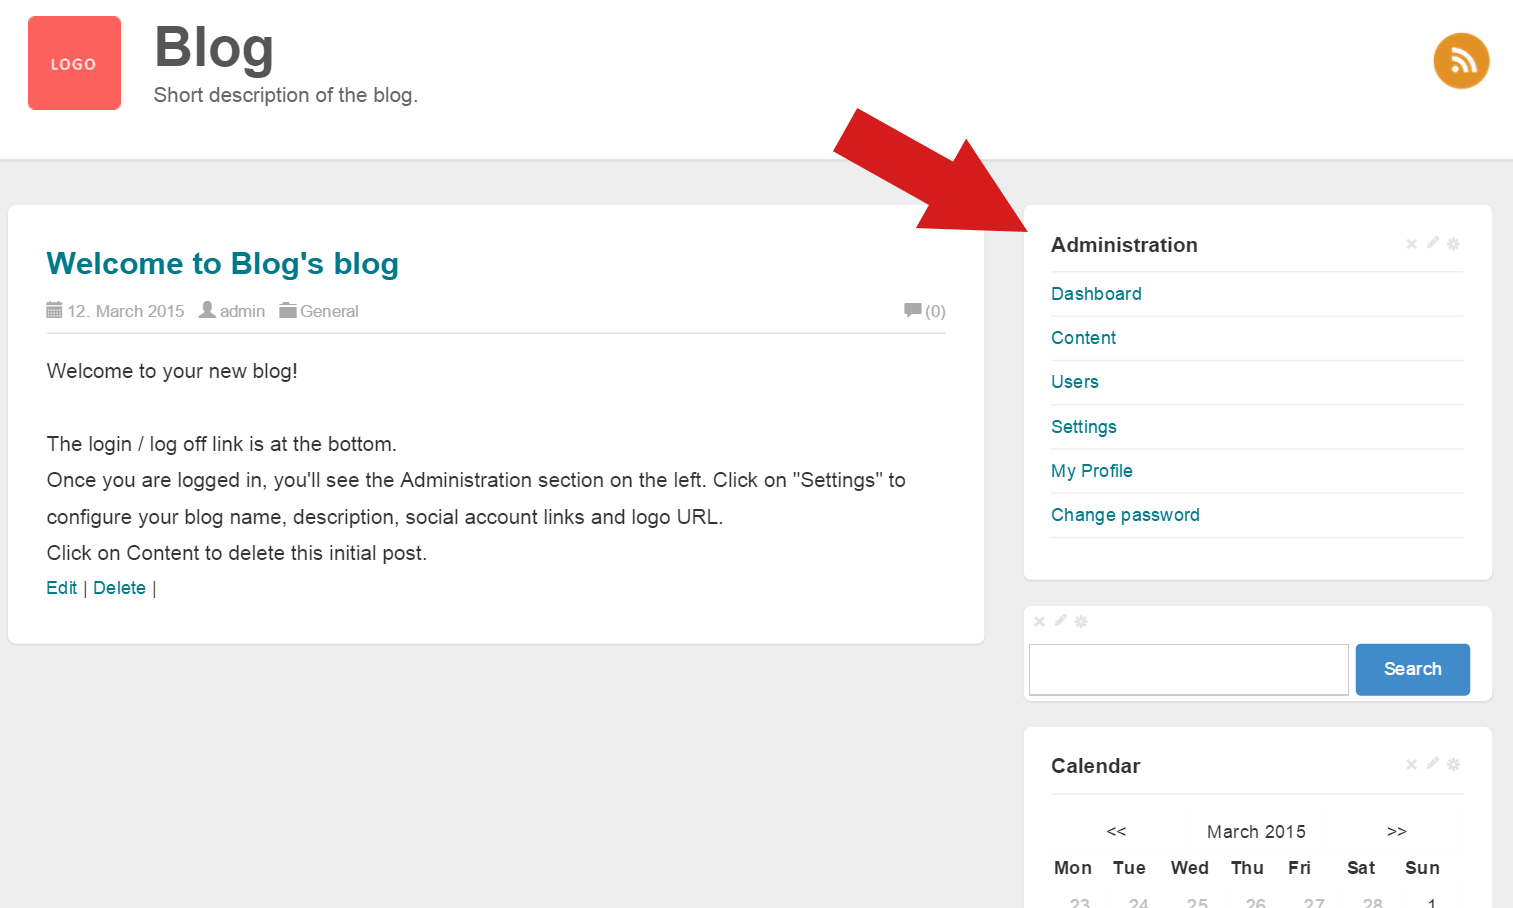
Once you log into the blog, on the right you’ll see the blog Administration panel:

(Note: the Administration panel is visible to the logged in admin users only).
To edit the blog’s name, description, social account links and the logo URL, click on the Settings link.
To post content and articles, click on the Content link.
Also, note that you can add and remove widgets from the right sidebar (the calendar, the search box, or the tag cloud).