Creating custom forms
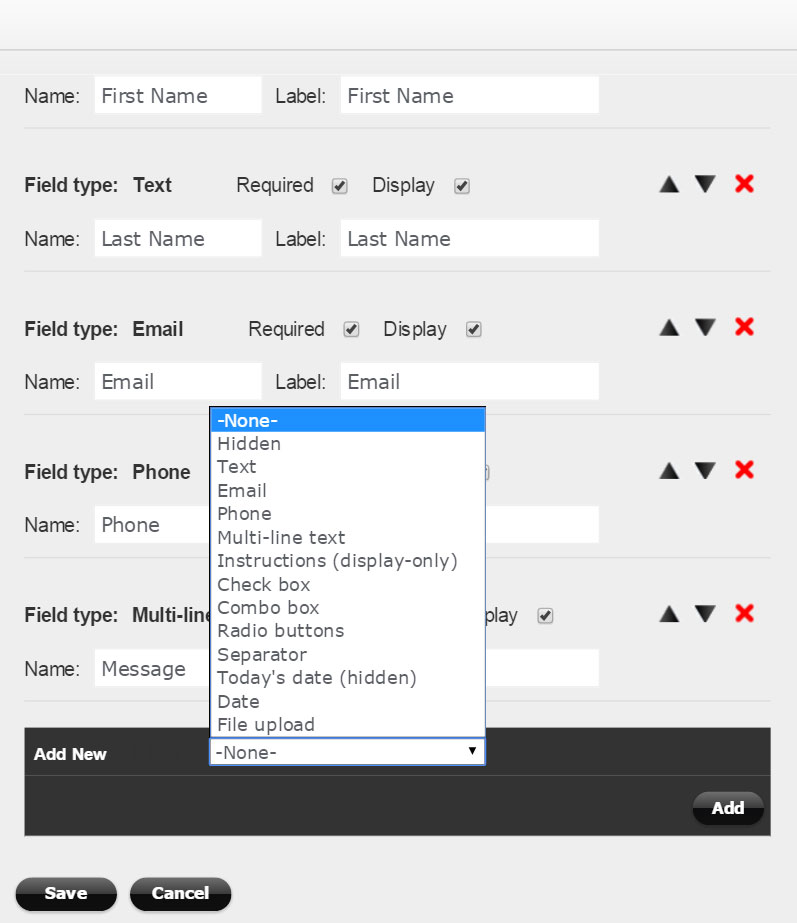
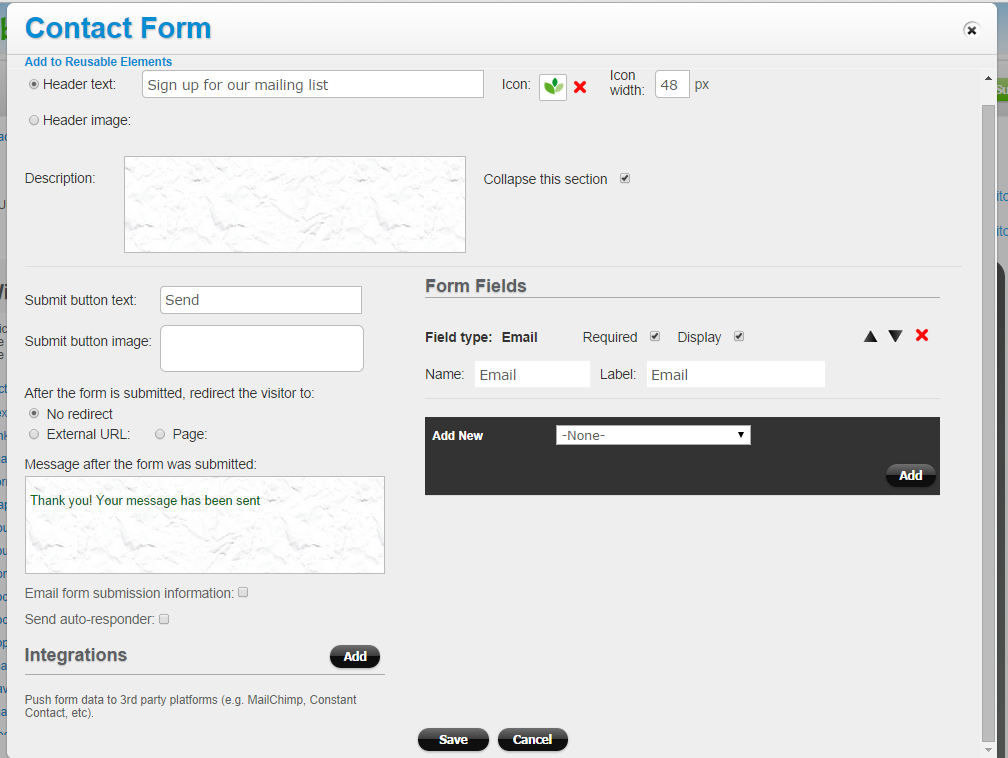
Forms can be customized both visually and functionally. To add fields to your form, in the Form Edit window, click on the add “Add” button. You have several field types to choose from:

For each form field you can specify the label and name. The label is what your site visitor will see. The name is what you will see in your form submissions/contact reports. For fields that require user selection (such as the combo box or radio buttons), you would also need to enter the field value options.
To customize the form visually (edit background and other options), click on the Style icon next to that Form widget.
Additional form configuration options:
1. Specify what happens after the user fills out the form (redirect to another URL, or keep them on the same page displaying a custom message)
2. Email the form submission information to yourself or others (specify multiple email addresses)
3. Send an auto-responder to the contact
4. Customize the look of the form’s Submit button
5. Integrate with a popular marketing or automation service to push your form submissions data.

All form submissions are saved in your control panel. On the site dashboard, click on the Leads/Contacts link to view and download your form submissions:
